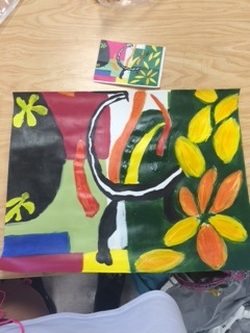
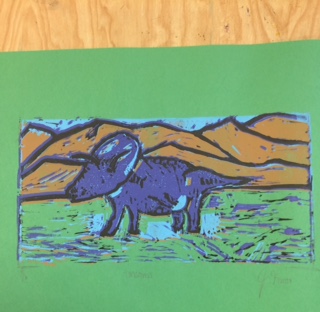
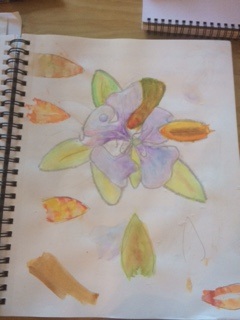
 In this project I got one fourth of a famous painting and had to copy the part I got. I learned that I needed to be careful and slow with my painting. Because I was copying someone else's piece, I needed to make sure I was doing it right. I like the left side of my piece but the right side is messed up because I did the leaves to wide and tall. If I were to do this again I would draw everything out in pencil before starting to paint. 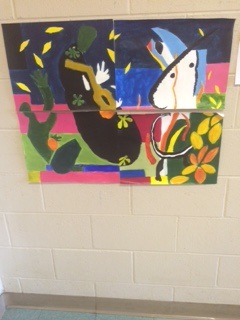 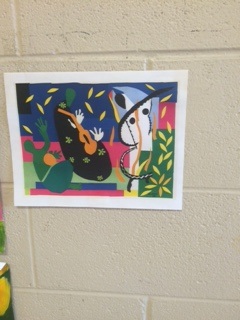
0 Comments
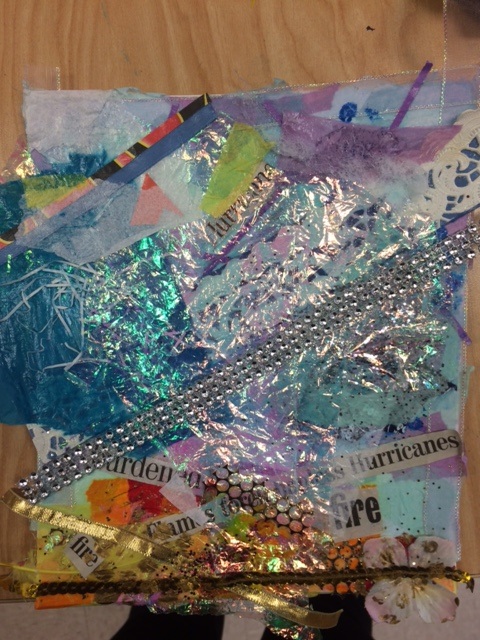
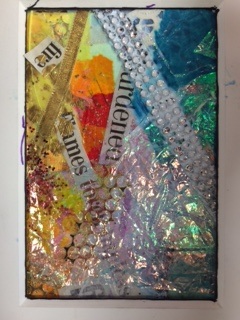
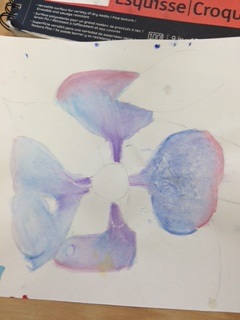
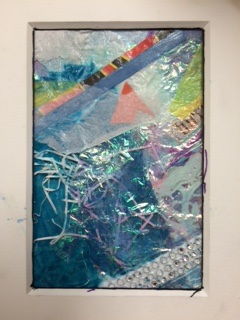 My artwork is intended to say that the bad does not outweigh the good. The red, orange, and yellow represent fire, destruction, and hurt. The blue represents water, and help. Connecting it to fire, the fire is trying to grow but the water is keeping it from doing so. When taking it in a more figurative way, the warm colors represent the hurt and bad things people go through, while the blue is the strength people have and the good things that happen to those people. Even though there will always be hurt and bad things that people go through, it will be tolerable because there will always be more good than bad. This artwork says a lot about who I am. My artwork was a message to myself. I have been through a lot in the past few years and I always need to remind myself that it always gets better. The blue represents the good things in my life like my friends, family, pets, and surprisingly school. The red represents death, anxiety, depression, and emotional hurt. Even though I will never fully get over the bad things, I will always be okay because I have good things in my life. Some issues that I am examining through my piece is the big, thick, crystal piece that just goes all the way across my art. Adding that part makes my piece look weird because it looks like it does not belong. Even though I wanted a blue and silver theme in the top part, the silver thing just does not look right. The piece looks to bulky and thick; it stands too high on my piece. If I did keep it I should have tried to do something to tone it down but I should not have added it in the first place. Another issue is that the blue part goes too far down. I wish I had the warm colors go a little higher because that part is my favorite section in my piece. Also the blue looks really overwhelming so I should have had the warm colors take up more space.
 The thing that I was not really sure about during this project but I tried anyway was the tiger. I have never done an animal before and I was nervous to try it. I was really nervous about painting it because I don't have a steady hand and I thought I was going to mess it up. Also I wanted to add color to my piece aside from greens and blues so i decide to use red. I wanted to blend it well but I did not want it to be completely obvious. So I decided to use the red in some bushes and go over it with different shades of green to blend it and it ended up working. 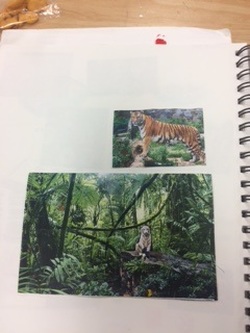 I stepped back and analyzed it right before I added in the blue background. I had to check to make sure my piece contained everything I wanted before I moved on so I would not have to add things over the dark blues. Also I analyzed it when I was done with the background to see what I had to go over because some blue got over my trees and vines. I really noticed that I messed up when I stepped back and looked at my piece after I finished the blue background. I realized that I messed up with one of the trees because the blue overlapped it and made the tree look bad. So I had to touch it up and keep messing with it to get it to look like it did before. 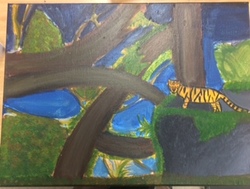 I asked for feedback from my table-mates Anna, Soni, and Rachel. They helped me a lot and encouraged me to keep going when I just wanted to put my knee through my whole piece. They were the ones that told me to add brighter greens and add red. Also they helped choose my background colors and what to do with them. When I wasn't confident about anything they gave me feed back for what needed to be tweaked a little and that helped me a lot with this piece. It took a lot of patience but they helped me through the whole thing. I wouldn't have liked my piece as much if I didn't have them to help me. 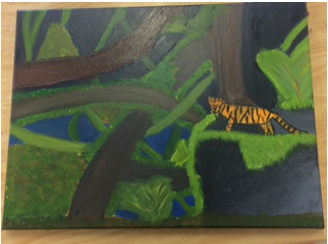
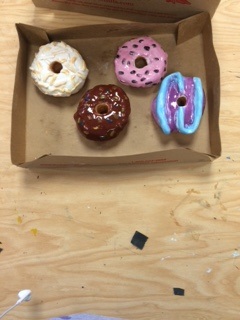
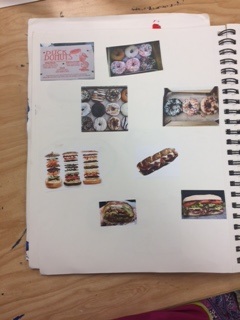
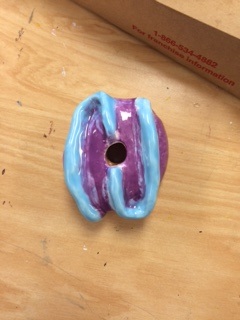
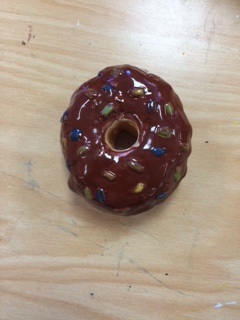
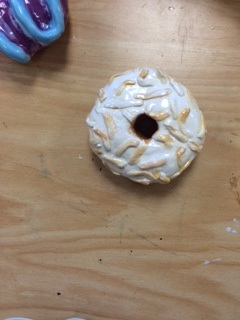
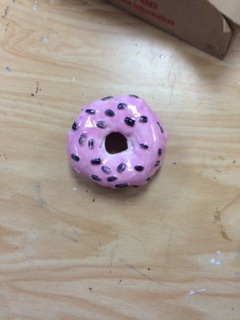
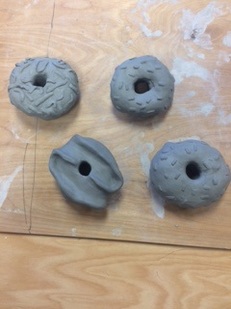
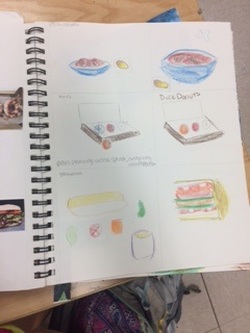 I have never worked with clay before but this was my favorite project that I have ever done in both art classes. I learned the different processes for using clay and how to make sure the clay pieces survive in the kiln. Also, I figured out how to use different clay tools to convey different textures and form different shapes. I also learned that I could paint the clay with acrylic paint or glaze it and put it in a glaze fire. For the icing and sprinkles I used glaze and for the dough I used acrylic. All together I learned a lot about the techniques for working with clay. Also, this project helped me gain skills with painting because I wanted to make sure the painting was smooth and the colors were shown through on the sprinkles. I was not sure about a lot of things during this project. For starters, I was not positive about the size of my donuts. I wanted them to all be the same size and thickness but I realized that not all donuts in a dozen look the exact same. Also, I was really unsure about the colors I was using in the icing and dough. I wanted the donuts too look as lifelike as possible so I really wanted to use colors that would portray that. Even though my donuts look a little to bright, I liked how they turned out. The thing that challenged me the most was the icing on the donuts. What I decided to do was cut the icing out separately cut the icing out and place it on top of the clay dough. I was getting really frustrated with the size of the clay icing. When it was too big, I tried to cut it down and then it was too small. Other times the icing was not round enough, and when I tried to make it rounded it would not work. Getting the icing took a lot of patience but I eventually got it to look how I wanted it too.
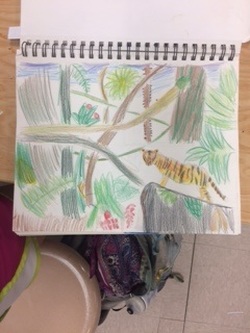
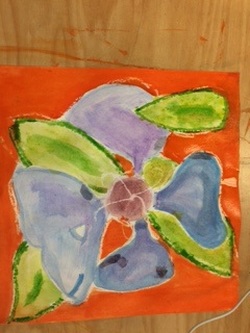 Water color is a familiar medium for me because I used it in art 1 a lot. But when using water color there are many different techniques people can use to show different textures and detail. In art 1, I normally didn't use the numerous techniques but for this project I tried to use more of them. The techniques I used were dry brush, resistance, saran wrap, and wet on wet. I used dry brush for the detail on the leaves, resistance on the filament, saran wrap on the leaves which did not work too well, and wet on wet on the leaves. I feel as if I gained a lot of skills with the different techniques throughout this project.
My project took two unexpected turns while I was working on it. I had to start over three times because I kept messing up. The first time I messed up I went too light and thought I could put more color in the piece by using the water color pencil after I already wet the petal. As soon as I put more pencil on my damp petal I noticed I pressed too hard and I could not blend it in. This created a prominent line in the center of the petal. I felt this error could cause peoples eyes to go directly to that spot so I had to restart. When I started over for the second time I put too much water on the petal which caused the paper to tear away. I did not like how it looked at all so I decided to start over the same day it was due. Even though, I do not like my piece as much as my sketch, I am still really pleased with the outcome. Honestly, throughout the whole time I was doing the project I was not sure about a lot of things I was doing. To start off, I was not really confident about my picture and I did not know if I could do it. Also, I was not sure about how many leaves to add and where they should be because pretty much my whole picture was the flower but I really wanted to add some leaves in my piece. Another thing that I questioned was the color of the petals. Originally, the petals were pink but I decided that if I used blue it would be easier to use more colors in the petal itself. The element I was most hesitant about was the very bright orange background but now I really like it because it makes the actual flower stand out.
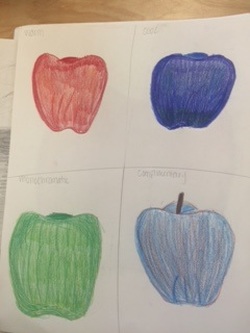
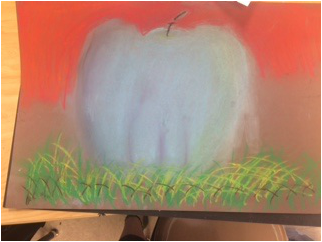 For this apple I used chalk. I think I went too light with the chalk because I didn't show the roundness of the apple. Also, I blended the chalk too much which made it look not realistic. 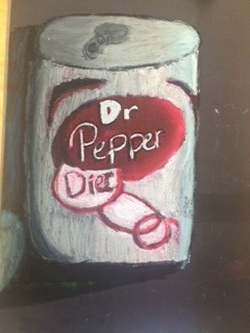 For this soda can I used oil pastel. I really don't like how this looks because the color and logo don't look right. Also, the shadow on the can does not look right because there is a lot of black then a yellowish spot that is going the opposite way which isn't right. I also should have tried to use more colors within the can. 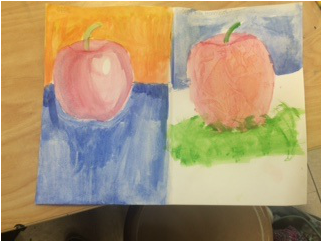 These apples are water colored and I like these the best out of all the apples. I like them so much because there are dark and light areas and you can also tell that it is round. To me, the first apple looks the most realistic out of all the apples I did. For the second apple, the techniques I used are dry brush and saran wrap. 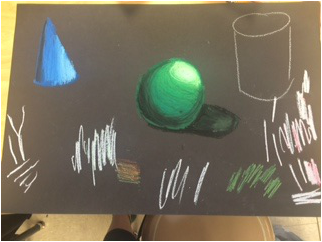 For this piece, I used oil pastels for shape shading. I realized that it was harder to blend the colors which made it difficult for it to look more realistic. Also in this piece, I was very heavy handed which is not good when using oil pastels.
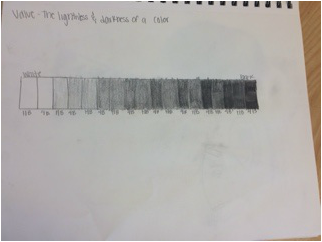 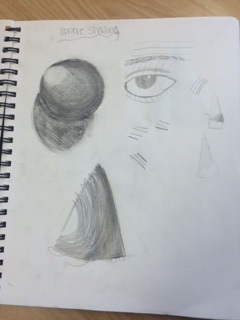 The pictures above are a value chart and shape shading. For the value chart I used two drawing pencils to get the various different values. In the shape shading picture, I had to find a light source and shade with the shape. Wherever the light source was, the opposite side was darker, and as I shaded closer to the light source, the shading got lighter. 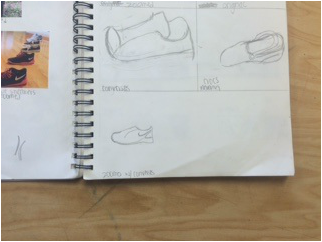 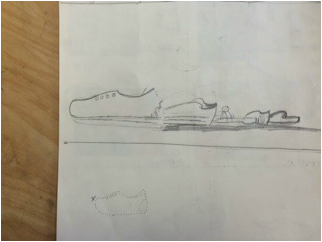 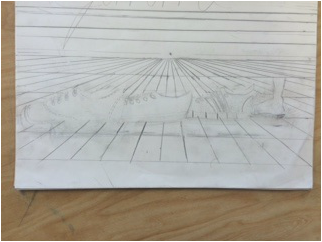 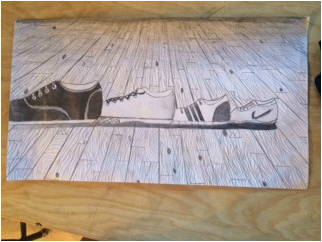 For the perspective project, I decided to go with shoes getting smaller and having a hard wood floor. I really wanted to stick with my pictures, but as I started to draw, the crocs were really difficult to sketch and I thought drawing hard wood floor instead of my carpet would have more detail and allow me to have more value. In the 2nd picture, instead of crocs, I decided to draw a foot, but the problem with that is I didn't know how to draw the leg so it would look proportional and for it to look smaller than the shoes in front of that. So I eventually decided to scrap the 5th shoe and just have 4 shoes. I used all drawing pencils in my piece, they were handy in adding value. When I was done with my piece, I needed to cut the top part of my art because there were too many lines for the floor which made the wood look wrong.
For this project I wasn't sure about the hard wood floors because I didn't know how to do the design of the hard wood. Also, I wasn't sure about the floors because I messed them up a little bit, but luckily I could cut off a big portion of my piece to make my art look better. I had never done a piece using perspective, so it was different for me to get it the way I wanted it. I learned how to use detail to make it look like hard wood floors. I searched for pictures of hard wood floors and I tried my best to copy that detail. I gained skills with drawing pencils and adding value. I learned how to even the shading out and to add more perspective with my shading. I found my inspiration in the types of shoes I wear and other kids my age wear. I used technology to search for the shoes and get more in depth design and detail. |
AuthorWrite something about yourself. No need to be fancy, just an overview. Archives
January 2016
Categories |
 RSS Feed
